
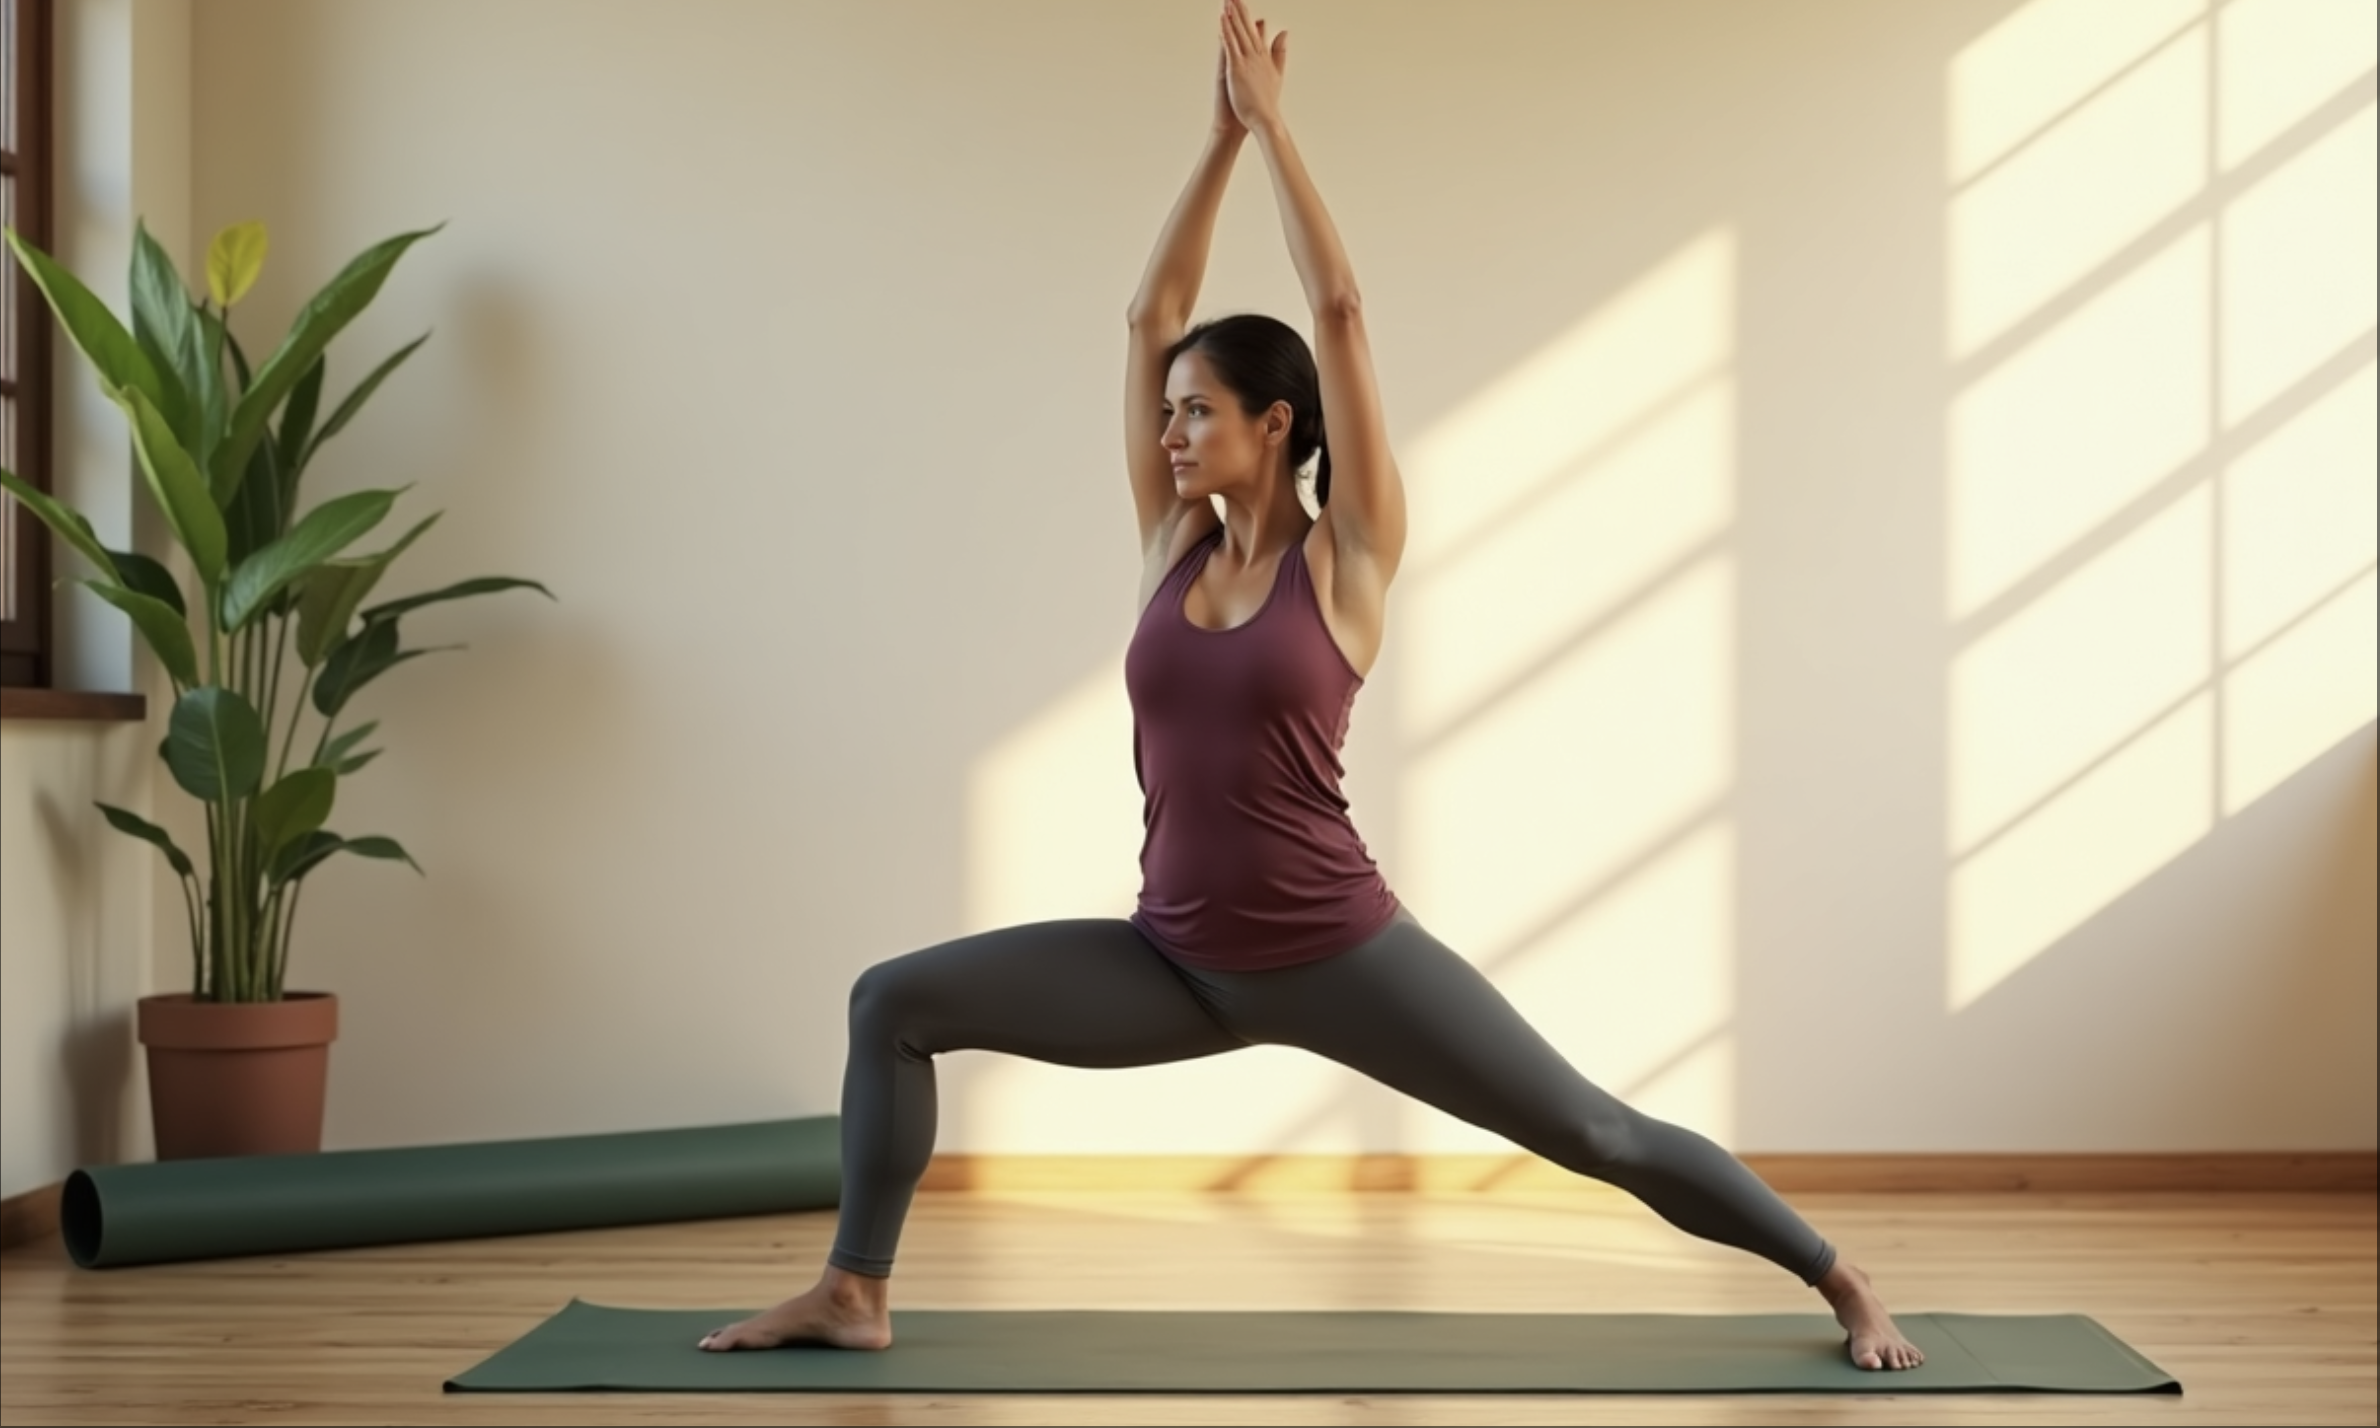
The warrior pose shows up in nearly every yoga class you’ll ever take. It’s in Sun Salutation B. It’s the backbone of vinyasa sequences. It’s the pose teachers use to build your legs, open your hips, and test your focus — sometimes all in the same breath.
But here’s what most people get wrong about warrior pose: they treat all three variations as the same pose with minor differences. They’re not. Warrior I, Warrior II, and Warrior III each demand different hip positions, different muscle engagement patterns, and different mental focus. Mixing up the alignment cues between them is one of the fastest ways to develop knee pain or lower back strain in yoga.
This guide walks through all three warriors with the detail each one deserves — the alignment, the common mistakes, the muscles at work, the modifications, and the transitions. Whether you’re a complete beginner figuring out where your feet go, or someone who’s been doing warriors for years but keeps feeling a tweak in your back knee, there’s something here for you.
Table of Contents
The Mythology Behind the Name (And Why It Matters)
Virabhadrasana — the Sanskrit name for warrior pose — breaks down into vira (hero), bhadra (friend or blessing), and asana (pose). A more accurate translation than “warrior pose” would be “the posture of the auspicious hero.”
The story behind the name comes from Hindu mythology. Shiva, devastated by the death of his wife Sati, tore a lock of hair from his head and threw it to the ground. From that hair rose Virabhadra — a warrior with a thousand arms, three burning eyes, and a body dark as storm clouds. Shiva commanded Virabhadra to avenge Sati’s death at a fire ceremony hosted by her father Daksha, who had humiliated Shiva and driven Sati to her death.
Each warrior pose represents a different moment in Virabhadra’s mission. Warrior I shows him rising from the earth, swords raised. Warrior II captures him sighting his target, standing firm with focused intent. Warrior III depicts his forward lunge to complete the strike.
The story is violent on the surface, but yoga philosophy reads it as metaphor. Daksha’s beheading represents the destruction of ego and pride. The warrior’s strength symbolizes the inner resolve you need for spiritual practice — the willingness to confront your own limitations, not someone else’s.
Knowing the story changes how you stand in the pose. You’re not just holding a lunge. You’re channeling something older and more intentional.
What the Research Says About Warrior Pose
A 2021 biomechanical study published in the International Journal of Environmental Research and Public Health recruited eleven yoga instructors and measured muscle activation and joint forces across five standing yoga poses, including all three warriors.
The findings are useful if you want to understand what each pose actually trains:
Warrior I produced the highest activation of the vastus medialis (the inner quad muscle) in the back leg. The study suggested it as a potential therapeutic intervention for reducing excessive lateral overload on the kneecap — meaning it could help with conditions like runner’s knee.
Warrior II produced the highest activation of the vastus lateralis (the outer quad muscle) in the front leg. However, it also generated the highest knee adductor forces in the back limb, which means the back knee experiences more twisting stress in Warrior II than in any other standing pose tested. This is why back-knee alignment matters so much in Warrior II.
Warrior III showed unique training effects on the hamstrings of the standing leg — effects that the other warrior poses didn’t produce. The study suggested it as part of hamstring rehabilitation protocols.
All three warriors were found to be effective for quadriceps strengthening. The key takeaway: these poses aren’t just stretches. They’re legitimate strength-training positions with measurable muscle activation, and they each target different muscles differently.
How to Prepare Your Body
Warrior poses ask a lot from your hips, legs, and spine simultaneously. Walking in cold and dropping straight into a deep lunge is a reliable way to aggravate tight hip flexors or strain a knee.
Sun Salutations are the most efficient warm-up. Two to five rounds of Sun Salutation A or B wake up every muscle group you’ll need. Sun Salutation B actually includes Warrior I in its sequence, so by the time you finish your warm-ups, you’ve already rehearsed the pose at lower intensity.
After Sun Salutations, spend a minute or two on each of these:
Mountain Pose (Tadasana) — Stand tall, engage your quads by pulling your kneecaps up, press all four corners of each foot into the floor. This establishes the grounding awareness you’ll carry into every warrior.
Wide-Legged Forward Fold (Prasarita Padottanasana) — Opens inner thighs and hamstrings, which need to be warm before you ask them to support a deep warrior lunge.
Low Lunge (Anjaneyasana) — Directly stretches the hip flexors of the back leg. If your hip flexors are tight from sitting, this is the single most important prep movement for Warriors I and II.
Standing Hip Circles — Small, controlled circles with your leg open and lubricate the hip joint. Ten circles in each direction, each leg.
If you have tight hips (most desk workers do), hold the low lunge for 30 to 60 seconds per side rather than rushing through it. Your warriors will feel dramatically different when your hip flexors aren’t fighting you.
Warrior I (Virabhadrasana I): Full Breakdown
Getting Into the Pose
From Mountain Pose: Stand at the front of your mat, feet hip-width apart. Exhale and step your left foot back roughly 3.5 to 4 feet. Drop your left heel so your back foot angles about 45 degrees toward the mat’s side edge. Press the outer edge of your back foot firmly into the floor.
From Downward Dog: Lift your right leg slightly on an inhale. Exhale, step it forward between your hands. Spin your back heel down to the floor at that same 45-degree angle.
Both entries work. Mountain pose gives beginners more control. Downward dog fits naturally into vinyasa flow sequences.
Aligning the Foundation
Feet position determines everything. You have two options for width:
Tightrope alignment — right heel lines up directly with left heel. More challenging for balance, deeper hip stretch.
Railroad track alignment — feet sit on two parallel lines, hip-width apart. Much more stable, easier to square the hips. Start here if you’re a beginner.
Bend your front knee to approximately 90 degrees, stacking it directly over your ankle. The knee should track between your big toe and second toe — never collapsing inward. If the knee pushes past the ankle, your stance is too short. Step the front foot further forward.
Squaring the Hips
Place your hands on your hip bones. Both should point toward the front of the mat, like headlights on a car. This is the hardest part of Warrior I for most people, and perfect squaring may not be possible depending on your hip structure. That’s normal. Aim for the intention rather than forcing a geometry your skeleton doesn’t support.
To help square the hips: roll your back inner thigh slightly inward and draw the back hip forward. Keep both heels grounded while you do this.
Upper Body
Inhale and sweep your arms overhead. Three arm options based on your shoulder mobility:
Parallel arms, palms facing each other — most accessible option, less shoulder strain.
Palms pressed together overhead, gaze lifted to thumbs — the traditional expression.
Cactus arms, elbows bent at 90 degrees — works if overhead reach creates neck or shoulder tension.
Drop your tailbone toward the floor. Pull your lower belly gently in and up, away from the front thigh. Any backbend should happen through the upper back, not the lower spine.
Hold and Breathe
Stay for 5 to 10 slow breaths. Lengthen your spine on each inhale. Settle deeper into the front knee on each exhale. Keep your back leg straight and strong. To exit, either step back to Mountain Pose or forward to Downward Dog.
Repeat on the other side for the same number of breaths.
Warrior II (Virabhadrasana II): Full Breakdown
The Key Difference from Warrior I
Your hips rotate to face the long edge of your mat in Warrior II — the opposite of Warrior I’s forward-facing hips. This single change transforms the entire pose. Your back foot opens wider, your arms extend horizontally, and the work shifts from hip flexor stretch to outer hip strength and stamina.
Getting Into the Pose
From a wide-legged stance, turn your right foot out 90 degrees so toes point to the front of your mat. Angle your left foot in slightly — about 15 degrees. Your front heel should bisect your back foot’s arch.
Bend your right knee to 90 degrees, stacking it over the ankle. Your thigh works toward parallel with the floor, though getting there takes time and strength.
Extend your arms straight out to the sides at shoulder height, palms down. Turn your head and gaze over your right fingertips. This focused gaze point (drishti) is part of the pose, not decoration — it develops concentration and steadies balance.
The Back Knee Warning
This is where the biomechanical research matters. Warrior II generates the highest twisting forces on the back knee of any standing yoga pose. The most common error: letting the back knee roll forward or inward while the foot stays planted. This creates torque through the knee joint — a rotational force the knee isn’t designed to handle repeatedly.
The fix: actively press the outer edge of your back foot into the mat and firm the back leg completely straight. If your back knee bends even slightly while the foot is angled, you’re loading the joint in a compromised position.
Hold and Breathe
Stay for 5 to 10 breaths. Keep both arms active and reaching — the back arm tends to drop, and teachers watch for this. Keep the back leg as engaged as the front. The warrior is fighting in both directions simultaneously.
Warrior III (Virabhadrasana III): Full Breakdown
Why This Pose Is Different
Warriors I and II are both grounded on two feet. Warrior III stands on one leg with your body forming a T-shape — torso, arms, and lifted leg all parallel to the floor. It’s a balance pose, a core challenge, a hamstring strengthener, and a focus test all at once.
Getting Into the Pose
Start from Warrior I with your right foot forward. On an exhale, shift your weight onto the right foot and begin lifting your left leg behind you as your torso hinges forward. Straighten your standing leg as much as your balance allows.
Reach your arms forward alongside your ears, or extend them out to the sides like airplane wings if that helps with balance. A third option: hands at your heart in prayer position, which reduces the balance demand.
Alignment Cues
Your hips should stay level — the most common error is letting the lifted hip rotate open toward the ceiling. Internally rotate the lifted leg slightly and press the hip bone of the lifted side down toward the floor.
Keep your standing leg engaged but not locked. A micro-bend in the standing knee is fine and reduces hyperextension risk.
Fix your gaze on one point on the floor about four feet ahead of you. Moving your gaze kills your balance instantly.
Hold and Breathe
Three to five breaths is plenty for beginners. Build toward 8 to 10 as your balance and strength improve. Step back into Warrior I to exit, then repeat on the other side.
Reverse Warrior (Viparita Virabhadrasana): A Bonus Variation
Reverse Warrior shows up in nearly every vinyasa class as a transition from Warrior II. You keep the same lower body as Warrior II — bent front knee, straight back leg, hips open to the side. The change happens in the upper body: drop your back hand to your back leg and reach your front arm up and over, creating a deep lateral stretch through the side body.
This variation opens the intercostal muscles (between your ribs), stretches the side of the waist, and creates space in the torso that prepares you for deeper backbends later in class. It’s also a satisfying stretch after holding Warrior II for several breaths.
The common mistake: collapsing the front knee inward as you reach up. Keep pressing the front knee toward the pinky-toe side of the foot, even as your attention shifts to the upper body.
Common Mistakes Across All Warriors
Front Knee Overshooting the Ankle
When the knee pushes forward past the toes, the compressive load on the kneecap increases significantly. The fix is almost always the same: widen your stance by stepping the front foot further forward. This lets the knee stack over the ankle without reducing the depth of the lunge.
Lower Back Compression in Warrior I
The backbend component of Warrior I belongs in the thoracic spine (upper back), not the lumbar spine (lower back). When the lower back arches excessively — usually because the front pelvis tilts forward or the core isn’t engaged — it compresses the lumbar vertebrae.
Fix this by tucking the tailbone slightly down, engaging the lower abdominals, and thinking about lifting the front ribs away from the pelvis. The extension should feel like opening the chest, not crunching the lower back.
Back Foot Lifting Off the Mat
When the back heel lifts in Warriors I or II, you lose half your grounding. This usually means tight ankles or a stance that’s too narrow. Shorten the stance, or place a rolled blanket or wedge under the back heel for support.
Narrow Stance (Tightrope Feet)
Placing both feet on a single line — as if walking a tightrope — makes every warrior dramatically harder to balance. Unless you have excellent balance and intentionally want the challenge, keep your feet on two parallel lines (railroad track width). Your hips, knees, and lower back will thank you.
Modifications for Beginners
Props make warrior pose accessible without compromising the work. They’re tools, not shortcuts.
Chair support for Warrior I: Place a chair facing away from you. Step one foot forward with toes under the chair’s back edge. Step the other foot back and turn it out. Bend the front knee, hold the chair back for balance, and focus on spinal alignment without worrying about falling.
Wall support for balance: Stand about a foot from a wall. Step into any warrior variation and rest your hands or arms against the wall. This removes the balance demand so you can build strength and alignment awareness first.
Shortened stance: A shorter step back reduces the demand on hip flexors and makes squaring the hips in Warrior I significantly easier. As flexibility and strength build, gradually lengthen the stance.
Blanket under the back heel: If the back heel won’t reach the floor in Warriors I or II, place a folded blanket or yoga wedge under it. This maintains grounding without forcing an ankle angle your body can’t achieve yet.
When to Avoid Warrior Pose
Warrior poses are generally safe, but there are situations where caution or avoidance makes sense:
Active knee injuries. The deep knee flexion and rotational forces in warrior poses can aggravate meniscus tears, ligament strains, or patellofemoral pain. Modify by reducing knee bend depth, or skip the pose until cleared by a healthcare provider.
Recent hip, back, or shoulder surgery. The multi-directional demands of warrior pose load several joints simultaneously. Get explicit clearance before adding warriors back to your practice post-surgery.
High blood pressure (uncontrolled). Arms-overhead positions in Warrior I and III can temporarily raise blood pressure. Keep arms at hip height or use cactus arms instead.
Pregnancy. Warriors are generally safe during pregnancy with modifications — wider stance, reduced depth, hands on hips instead of overhead. Avoid deep backbends in Warrior I. Work with a prenatal-qualified instructor.
Balance disorders. Warrior III on one leg can be dangerous if you have vestibular or neurological balance issues. Use wall support or skip it in favor of the two-footed warriors.
How Warrior Poses Fit Into a Flow
In Sun Salutation B, Warrior I appears naturally after a low lunge. The standard transition: from Downward Dog, step the right foot forward, spin the back heel down, rise into Warrior I, hold for one breath, then plant the hands and step back to Chaturanga.
In vinyasa sequences, the warriors chain together fluidly. A common flow:
Warrior I (right side) → open the hips and arms to Warrior II → tip back into Reverse Warrior → cartwheel the hands down and step back to Plank → Chaturanga → Upward Dog → Downward Dog → repeat on the left side.
Warrior III typically appears later in a sequence as a peak balance pose. Entering from Warrior I (shifting weight forward and lifting the back leg) is the most stable entry point for beginners.
FAQs
How Long Should I Hold Warrior Pose?
Five to ten slow breaths per side is standard for Warriors I and II. Three to five breaths works for Warrior III, where balance fatigue sets in faster. In yin or restorative contexts, you might hold modified warriors for one to two minutes, but that’s less common.
Is Warrior Pose Good for Beginners?
Warriors I and II are beginner-friendly with proper instruction and modifications. Warrior III is typically considered intermediate because of the single-leg balance demand. Beginners should start with Warrior I, add Warrior II once the lower body feels stable, and work toward Warrior III after building core and standing-leg strength.
Can Warrior Pose Help With Back Pain?
Warrior I’s upper-back extension can counteract the rounded posture that contributes to upper back and neck pain from desk work. The hip flexor stretch in the back leg also releases tension that pulls on the lower back. However, if you already have lower back pain, the lumbar compression risk in Warrior I means you should focus on engaging your core strongly and avoiding excessive backbend. Warrior II, which doesn’t involve backbend, is generally safer for people with active lower back issues.
Why Does My Back Knee Hurt in Warrior II?
The back knee in Warrior II experiences the highest twisting forces of any standing yoga pose. If your foot angle and hip angle don’t match — meaning the foot is turned out wide while the hip stays tight — the knee absorbs rotational force it isn’t built to handle. Fix this by straightening the back leg completely, pressing the outer edge of the back foot down, and making sure the knee isn’t bending even slightly. If pain persists, shorten the stance or skip the pose until a teacher can check your alignment.
What’s the Difference Between Warrior I and High Lunge?
In Warrior I, the back heel is on the ground with the foot at 45 degrees. In High Lunge (Crescent Lunge), the back heel is lifted with the ball of the foot on the floor. High Lunge puts less rotational demand on the back knee and is easier on tight hips, which is why some teachers substitute it for Warrior I in flow sequences. The trade-off: High Lunge requires more calf strength and ankle stability, and it doesn’t ground the back leg as firmly.
References consulted during research:
- Liu AM et al., “Training Benefits and Injury Risks of Standing Yoga Applied in Musculoskeletal Problems: Lower Limb Biomechanical Analysis” — International Journal of Environmental Research and Public Health, 2021
- “Yoga’s 5 Warrior Poses: Benefits and Tips for Perfect Form” — Arhanta Yoga (March 2025)
- “Why We Practice the Warrior Poses” — EkhartYoga / YogaEasy (updated May 2026)
- “Warrior 1 Pose (Virabhadrasana I): Alignment and Power” — YogaJala (March 2026)
- “Knee Safety Tips — Warrior I Pose” — YOGABODY (November 2024)
- “How to Practice Warrior I / Warrior III” — YogaRenew Teacher Training (October 2025)
Muscles Worked: A Quick Reference
Understanding which muscles fire in each warrior helps you know what you’re training and where you should feel the work.
Warrior I: Front leg — quadriceps (especially the inner quad/vastus medialis), glutes, hip flexors (stretched in the back leg) Back leg — calf, ankle stabilizers, quad (isometric hold) Core — deep abdominals, spinal erectors Upper body — shoulders (deltoids), upper back, chest (opened)
The signature sensation: burning in the front quad and a deep stretch through the back hip flexor. If you feel it mostly in the lower back, your core isn’t engaged enough.
Warrior II: Front leg — quadriceps (especially the outer quad/vastus lateralis), glutes, hip external rotators Back leg — inner thigh (adductors), calf, ankle stabilizers Core — obliques (working to keep the torso upright over the pelvis) Upper body — shoulders (deltoids holding the arms up), rhomboids, trapezius
The signature sensation: a deep burn in both shoulders and the front thigh. The arms fatigue faster than you’d expect — holding them horizontal for 10 breaths is genuinely difficult.
Warrior III: Standing leg — hamstrings (uniquely activated here), quadriceps, glutes, ankle and foot stabilizers Lifted leg — glutes and hamstrings (working to hold the leg level) Core — deep abdominals, spinal erectors, obliques (all working to prevent rotation) Upper body — shoulders, upper back
The signature sensation: your entire standing leg shaking. This is normal — the proprioceptive demand (your body’s spatial awareness system) is extremely high in this pose, and the constant micro-adjustments are what cause the trembling.
Building a Weekly Warrior Practice
If you’re working on warrior poses outside of a studio class, here’s a simple structure that builds strength and alignment progressively.
Week 1 to 2: Practice Warrior I only, both sides, holding 5 breaths each. Focus on foot placement, knee alignment, and keeping the back heel grounded. Use a wall for support if needed.
Week 3 to 4: Add Warrior II. Flow from Warrior I to Warrior II on each side, holding each for 5 breaths. Pay special attention to the hip rotation transition — don’t just spin your arms, actively pivot from the pelvis.
Week 5 to 6: Add Reverse Warrior after Warrior II. The sequence becomes: Warrior I → Warrior II → Reverse Warrior on each side. This is the foundation of most vinyasa warrior flows.
Week 7 onward: Introduce Warrior III. Start with hands on a chair or wall, holding for 3 breaths. Build toward the full expression with arms extended as your balance improves.
Practice three to four times per week. Warrior poses build strength cumulatively — occasional practice doesn’t produce the same neuromuscular adaptation as consistent repetition.
